realme How to Manage Activity and Tracking Controls
realme 1710Table of contents
Turn On/Off Activity Controls
Our activities are stored and sent to Google by default in order to receive personalized Google services.
If desired, the following activity settings can be enabled or disabled at any time:
- Web & App Activity
- YouTube History
- Ad personalization


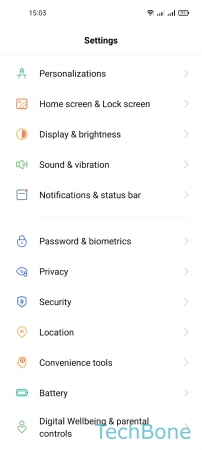
- Tap on Settings
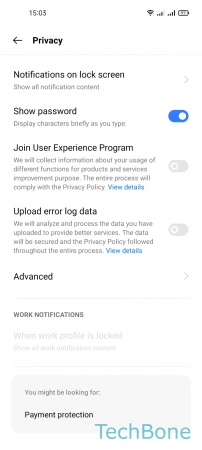
- Tap on Privacy
- Tap on Advanced
- Tap on Activity controls
- Turn On/Off an Option
Turn On/Off Google Location History
The location history is stored on the realme smartphone and regularly sent to Google to provide us with personalized maps and other services.
The Google location history can be enabled or disabled at any time in the Google account.


- Tap on Settings
- Tap on Privacy
- Tap on Advanced
- Tap on Google location history
Turn On/Off Personalized Ads
If we wish, we can receive personalized advertising or ad suggestions that are determined on the basis of our search queries and interests.
Note: If we deactivate personalized advertising on the realme smartphone, we receive the same number of ads or banners, for example in the browser. Only the content might be less interesting.


- Tap on Settings
- Tap on Privacy
- Tap on Advanced
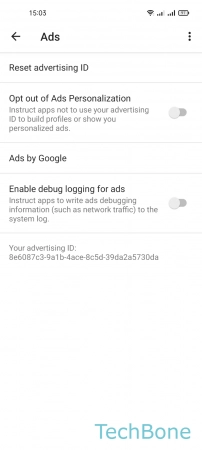
- Tap on Ads
- Enable or disable Opt out of Ads Personalization
- Tap on OK
Reset Advertising ID
The advertising ID is created on each mobile device, as well as on the realme smartphone, in order to offer personalized advertising suggestions that may be of interest.
Based on our visited websites or search queries, more relevant products or services are identified and presented to us in the form of interest-based advertising.
Note: The advertising ID can be reset at any time.


- Tap on Settings
- Tap on Privacy
- Tap on Advanced
- Tap on Ads
- Tap on Reset advertinsing ID
- Tap on OK
Turn On/Off "Usage & Diagnostics"
To improve the use of Android devices, app usage and diagnostics data from the realme smartphone is automatically sent to Google to improve services.
In addition, aggregated data is sent to Google partners or app developers and evaluated.
Note: The sending of usage and diagnostic data can be enabled or disabled at any time.


- Tap on Settings
- Tap on Privacy
- Tap on Advanced
- Tap on Usage & diagnostics
- Enable or disable Usage & diagnostics